In many cases this can be fixed by changing the cell format after you see that it is incorrect, but that is, unfortunately, not the case with numbers that Excel has formatted as dates. The ideal solution is to format your cells as text before you enter your data, which we will show you how to do below. If that is not an option, and your data is in a CSV file, then you might be able to get your data into the right format by using an import function in Excel. We explain that method at the bottom of this article.
How to Prevent Excel 2013 from Changing an Input Number to a Date
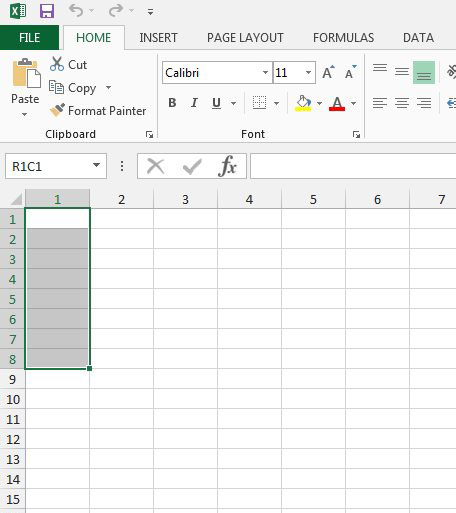
The steps below will assume that you have a number that you are trying to put into a cell, but Excel keeps formatting it as a date. This often happens with numbers like 11-12, or 11/12. Excel makes the assumption that when you input data in this format, that you are inputting dates. Fortunately this is something that you can resolve prior to entering the data into the cells. Step 1: Open the spreadsheet into which you will be entering your data. Step 2: Use your mouse to select each of the cells into which you will be entering the data. You can select entire rows or columns by clicking the appropriate number at the left side of the spreadsheet (for rows) or the letter at the top of the sheet (for columns.)
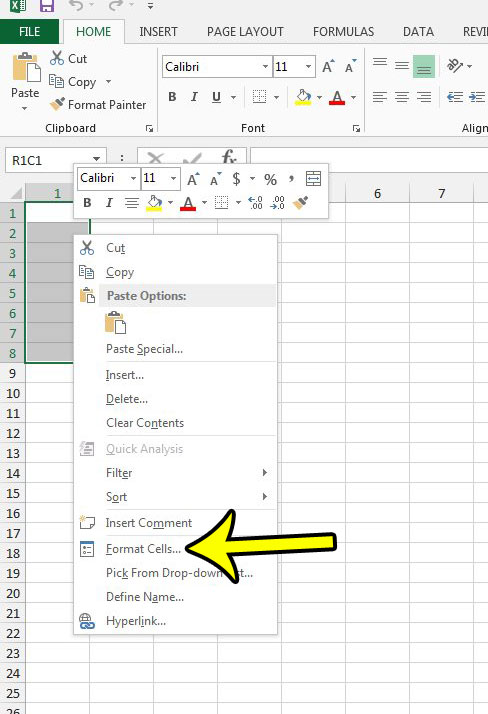
Step 3: Right-click one of the selected cells, then click the Format Cells option.
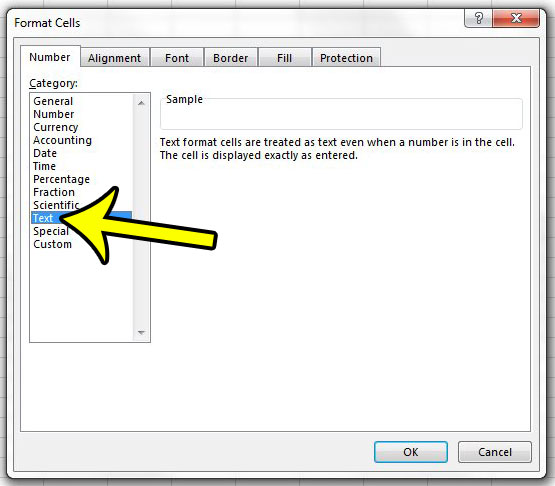
Step 4: Select the Text option from the column at the left side of the window, then click the OK button.
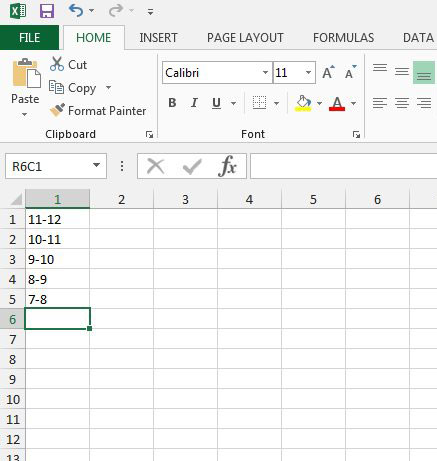
You should now be able to enter your data into these cells and keep them in the correct format.
How to Import a CSV File Into Excel 2013 and Format Columns as Text
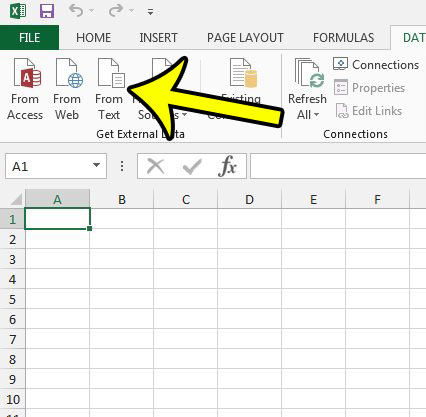
If you already have the data in a file (like a CSV file) and Excel is changing the data to a date before you even have the ability to open it, then you might be able to fix this with a different approach. Step 1: Open Excel 2013. Just the program. Don’t double-click your file to open it in Excel. Step 2: Click the Data tab at the top of the window.
Step 3: Click the From Text button in the Get External Data section of the ribbon.
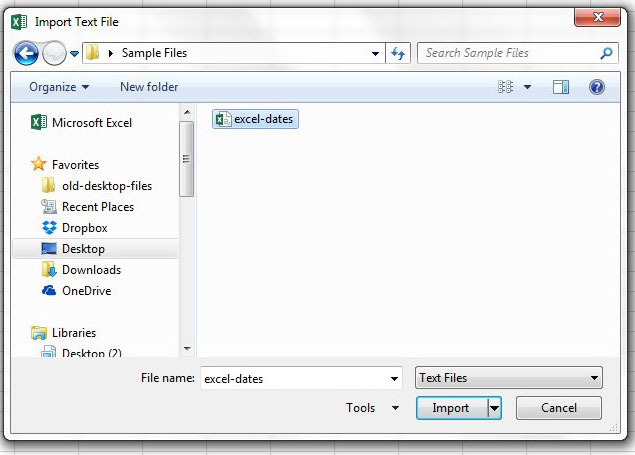
Step 4: Browse to the file containing your information, then click the Import button.
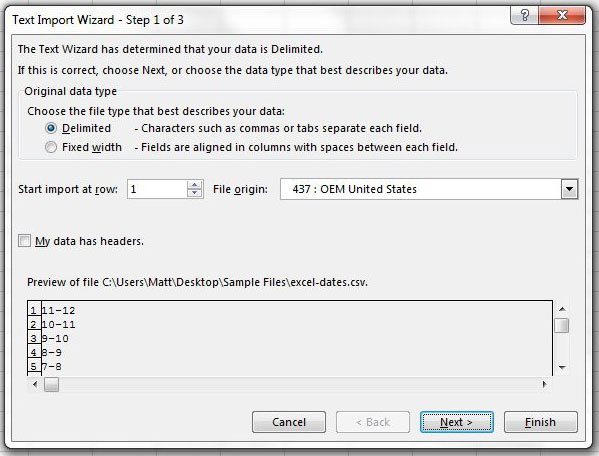
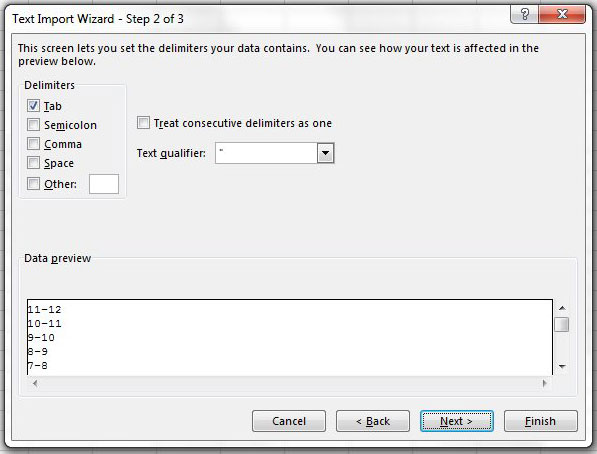
Step 5: Select the Delimited or Fixed Width option at the top of the window, then click the Next button.
Step 6: Specify the delimiter type or the desired width for the cells, then click the Next button.
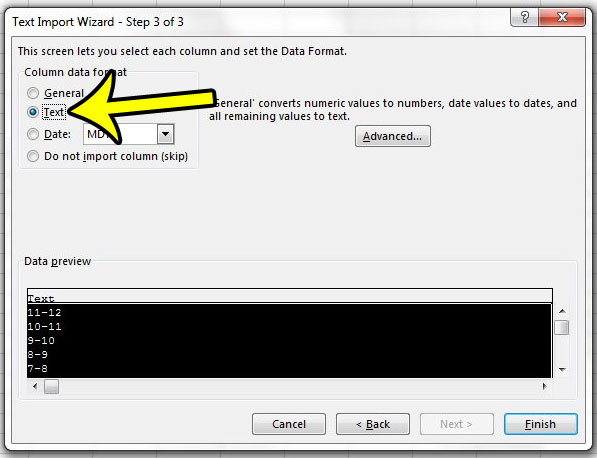
Step 7: Select the Text option under Column data format, then click the Finish button.
Does something about your Excel workbook seem wrong? Are there numbers where there should be column letters? Learn how to switch this back to the default format so that you can use Excel the way in which you are accustomed. He specializes in writing content about iPhones, Android devices, Microsoft Office, and many other popular applications and devices. Read his full bio here.