But printing in Excel 2013 is often a chore, and what you see in the Normal view isn’t often a good indication of how your spreadsheet will look when it’s printed on paper. If you print almost every spreadsheet that you make and it’s important to you that the printed document looks good and fits on the paper appropriately, then you might prefer to use the Page Layout view by default. Our tutorial below will show you how to change this setting in Excel 2013.
How to Change the Default View in Excel 2013
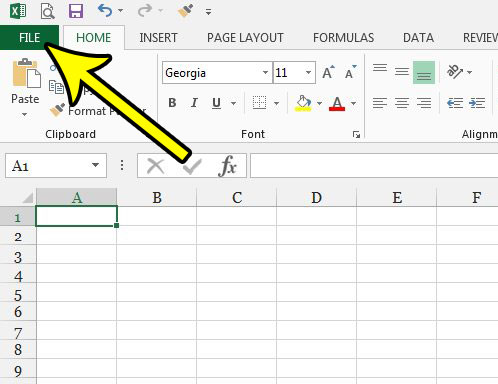
The steps in this article were performed in Microsoft Excel 2013. This tutorial is going to show you how to change the view that is used by default when you create a new workbook in Microsoft Excel. You will still be able to change the view, however, while you are editing the spreadsheet. Step 1: Open Excel 2013. Step 2: Click the File tab at the top-left corner of the window.
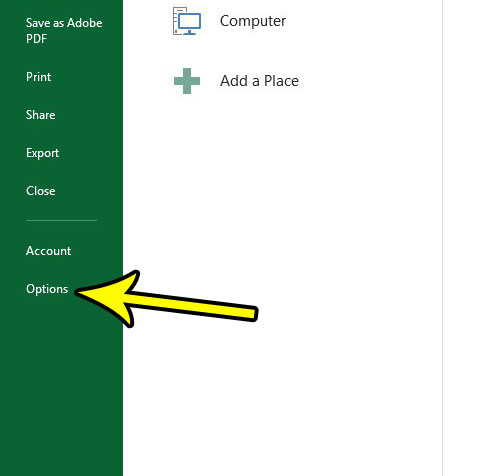
Step 3: Click the Options button at the bottom of the column on the left side of the window.
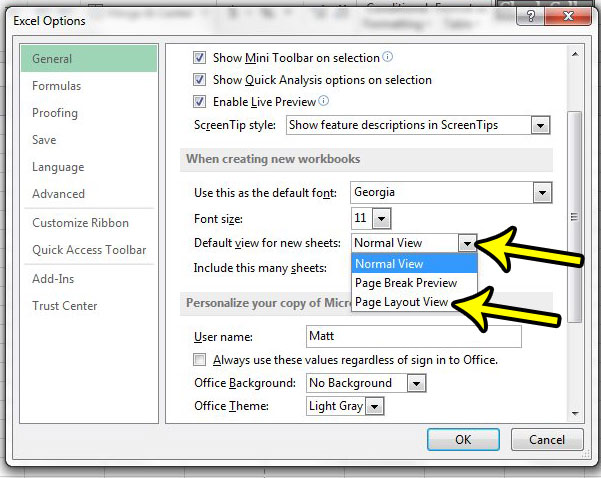
Step 4: Click the dropdown menu to the right of Default view for new sheets, then select the Page Layout View option. You can then click the OK button at the bottom of the window to close it and apply your changes. The next new workbook that you create should now be using the Page Layout view.
Would you like Excel 2013 to use a different font in new workbooks? Learn how to change the default font in Excel 2013 and use any font that is installed on your computer. He specializes in writing content about iPhones, Android devices, Microsoft Office, and many other popular applications and devices. Read his full bio here.