Create a Word Document from a Powerpoint Slideshow
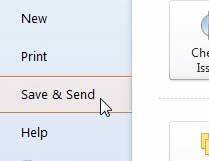
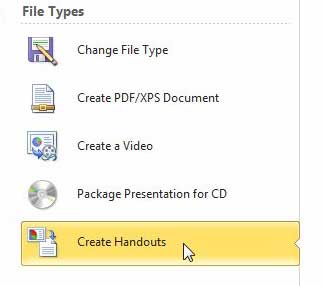
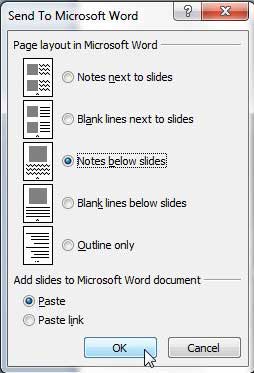
What you are actually doing is creating handouts in Microsoft Word that are based upon the existing slides that are in your Powerpoint presentation. This tutorial will assume that you know how to save files in both Powerpoint and Word and have both programs installed on your computer, so we will be focusing on finding and customizing the tool that will allow you to generate the handouts that you need from the Powerpoint presentation that you have. You can do a lot with the printing functions in Powerpoint, if your audience only needs a printed version of your presentation. For example, this tutorial will teach you how to print your presentation as an outline. But to learn about the functionality that exists between Powerpoint and Word, continue reading below. Step 1: Double-click your Powerpoint presentation to open it in Powerpoint. Step 2: Click the File tab at the top-left corner of the window. Step 3: Click the Save & Send button at the bottom of the column on the left side of the window. Step 4: Double-click the Create Handouts option in the File Types section at the center of the window. Step 5: Choose your desired layout option from the top section of the window, choose the Paste or Paste link option, depending on your preferences, then click the OK button. **Note – if you choose the Paste option, it will paste the entire contents of your slide into Word and, if you double-click a slide, you will be able to edit it within Word. If you choose the Paste link option, then double-clicking a slide will return you to Powerpoint to make the edit. Step 6: This will open your slides in Word. You can then proceed to edit the content in your slides and any notes you have for those slides. You can also increase the size of the slide image by clicking the slide border and dragging in outward. And, depending upon the layout of your slides, you might even want to change the page layout of your document in Word to the landscape option. Step 7: Once you are done configuring the slideshow in Word, be sure to save the document. If your initial options for converting from Powerpoint to Word did not work out the way you expected, simply close the created Word document without saving it, then try again. The first time I did this I had to try a few different options in Step 5 before I found the one that I liked. If it took a long time for your computer to generate the Word version of your slideshow, that could be an indication that you need to upgrade your laptop. Check out our Toshiba Satellite L755D-S5150 review to get an idea of what laptops are available in the market right now and how much they cost.
See also
How to insert a check mark in Microsoft WordHow to do small caps in Microsoft WordHow to center text in Microsoft WordHow to merge cells in Microsoft Word tablesHow to insert a square root symbol in Microsoft Word
After receiving his Bachelor’s and Master’s degrees in Computer Science he spent several years working in IT management for small businesses. However, he now works full time writing content online and creating websites. His main writing topics include iPhones, Microsoft Office, Google Apps, Android, and Photoshop, but he has also written about many other tech topics as well. Read his full bio here.
You may opt out at any time. Read our Privacy Policy