Or have you been using up a lot of storage with the videos that you create? Both of these issues can be resolved by adjusting the setting on your iPhone that controls the resolution for the videos that you take with your Camera app. Our tutorial below will show you where to find and change this setting so that you are either recording videos with smaller file sizes or videos with better resolution on your iPhone.
How to Switch the Video Resolution Setting for Recorded Video on an iPhone
Our guide continues below with additional information on how to change the video recording quality on an iPhone, including pictures of these steps. The iOS 9 update for your iPhone adds a new option to the Camera menu where you can select from three different levels of quality when recording video. This is especially helpful when you have a limited amount of space on your device and want to record a video that is more than a few seconds long. There is a significant difference in the amount of space that is used by videos recorded at the lowest setting and videos recorded at the highest setting, so this can be helpful for those of us that are often near the storage limitations on our devices. Our quick guide below will show you where to find the video recording quality setting in iOS 9 so that you can select the appropriate one for your needs.
How to Adjust Video Recording Quality on an iPhone (Guide with Pictures)
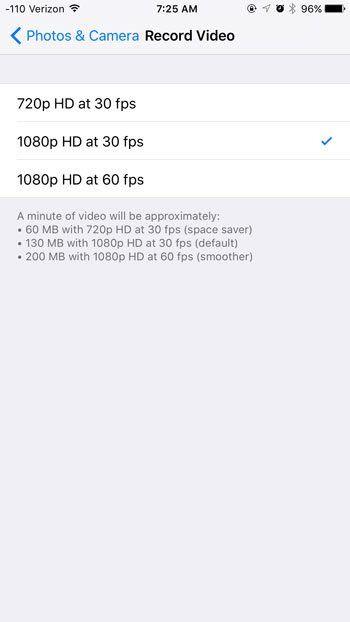
The steps in this article were written using an iPhone 6 Plus, in iOS 9. If you have not already done so, you can update to iOS 9 directly from your device. Different recording qualities will use varying amounts of storage space. According to Apple, for one minute of video you can expect to use approximately:
60 MB of space for a 720p HD video at 30 FPS (frames per second)130 MB of space for a 1080p HD video at 30 FPS200 MB of space for a 1080p HD video at 60 FPS
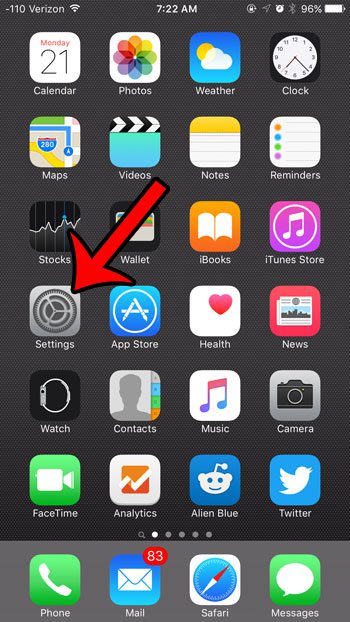
Step 1: Open the Settings menu.
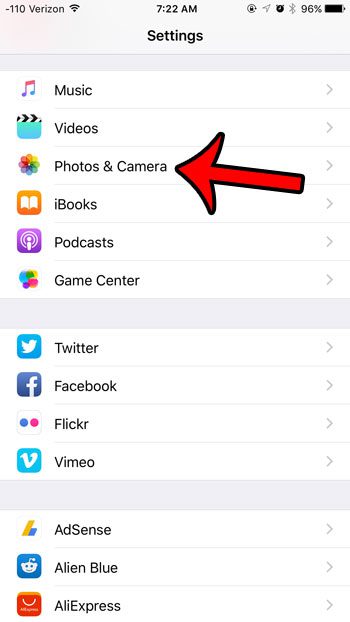
Step 2: Scroll down and select the Photos & Camera option.
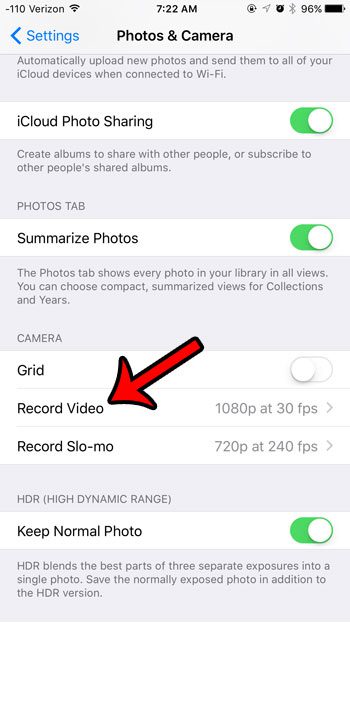
Step 3: Scroll down and tap the Record Video button under the Camera section of the menu.
Step 4: Select the preferred video recording quality.
The one that is selected will have a check mark to the right of it. Now that you know how to adjust the iPhone video recording resolution you will be able to change this setting if you want a higher quality video, or if you want to record a video with a lower file size so that it is easier to share. Among the more helpful features of iOS 9 is a low power mode for your battery. If you find that your battery is not lasting long enough, then enabling the low power mode can help to extend your battery life. Learn how to enable low power mode in iOS 9 to see if it helps your iPhone get through the day a little better.
Additional Sources
After receiving his Bachelor’s and Master’s degrees in Computer Science he spent several years working in IT management for small businesses. However, he now works full time writing content online and creating websites. His main writing topics include iPhones, Microsoft Office, Google Apps, Android, and Photoshop, but he has also written about many other tech topics as well. Read his full bio here.
You may opt out at any time. Read our Privacy Policy